Troubleshooting

Here we will go over some troubleshooting steps you can take if your keyboard is not working or has some other stuff wrong. We will use our Static Keyboard as an example, but you can use this guide for pretty much any through hole kit that is out there.

First things first

Is your keyboard getting recognized by your computer?

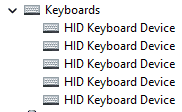
device_manager

If you are on Windows you are looking for the Device Manager. You should see one of those HID Keyboard Devices in there. If there is one more after plugging in your keeb you are good. Give Windows some time. It may take a few seconds for it to get recognized.

lsusb
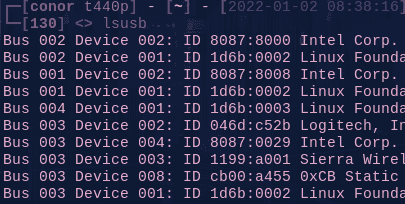
If you are on Linux run lsusb in your terminal and check if the device appears there, if not you can try sudo dmesg -w this can also display errors like "unable to enumerate USB device" (maybe something wrong with the usb port), or "reset low-speed USB device" (try a different port on yout PC, preferably USB2.0 - or an old USB hub as the issue is propably your usb chipset)
dmesg

device_manager

If you are on Mac (WIP)

If your keyboard shows in any of those operating systems, please skip right to here.

If it still doesn't get recognized something with your soldering is wrong or you have flashed a faulty fimware (In case of the Static the ICs come preflashed and tested). So get your board in QMK Toolbox now and see if it gets recognized there. Just continue reading from here.

QMK Toolbox

Here we will go over the flashing process in QMK Toolbox.

First select your .hex file and the controller you are using.

qmk_file

Then get your keyboard into bootloader mode. For the Static you will need to hold the boot button while plugging it in.
It should look something like this. The important part is the yellow line.
qmk_beforeflash
If that doesn't show, something is wrong with your soldering. Go here.

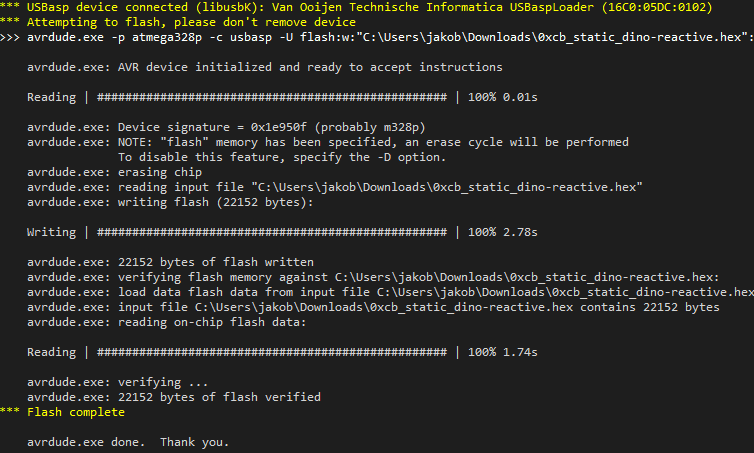
If you have that line you can proceed to press the flash button at the top. After flashing it should look something like this.
qmk_afterflash
If you have gotten this far the next thing is to try connecting it in VIA. Click here to get to that step.

Soldering

If your keyboard doesn't show up anywhere there is probably something wrong with your soldering. At this point you should have a multimeter ready. This will make your life way easier.

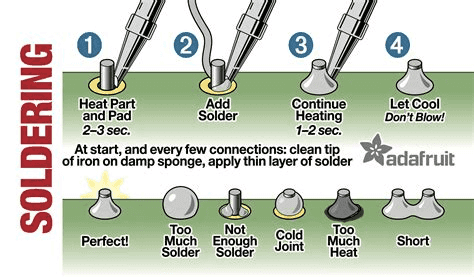
The first thing you should check are your solder joints. Do they all look fine? Here you can see a graphic of how your joints should look. If some don't look perfect don't hesitate to touch them up again with some solder.

solderjoints

After you have touched up your joints you can basically start the Guide from the top.

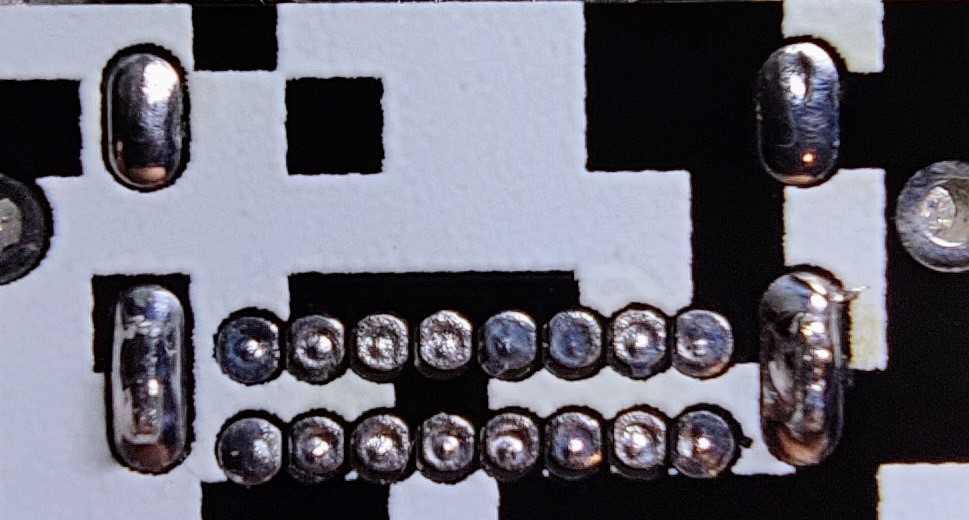
If your keyboard still doen't work you should have a good look at the USB port. This is how a good USB port looks. Not too much solder and every pad is on it's own and not connecting with another one.
USB_soldered

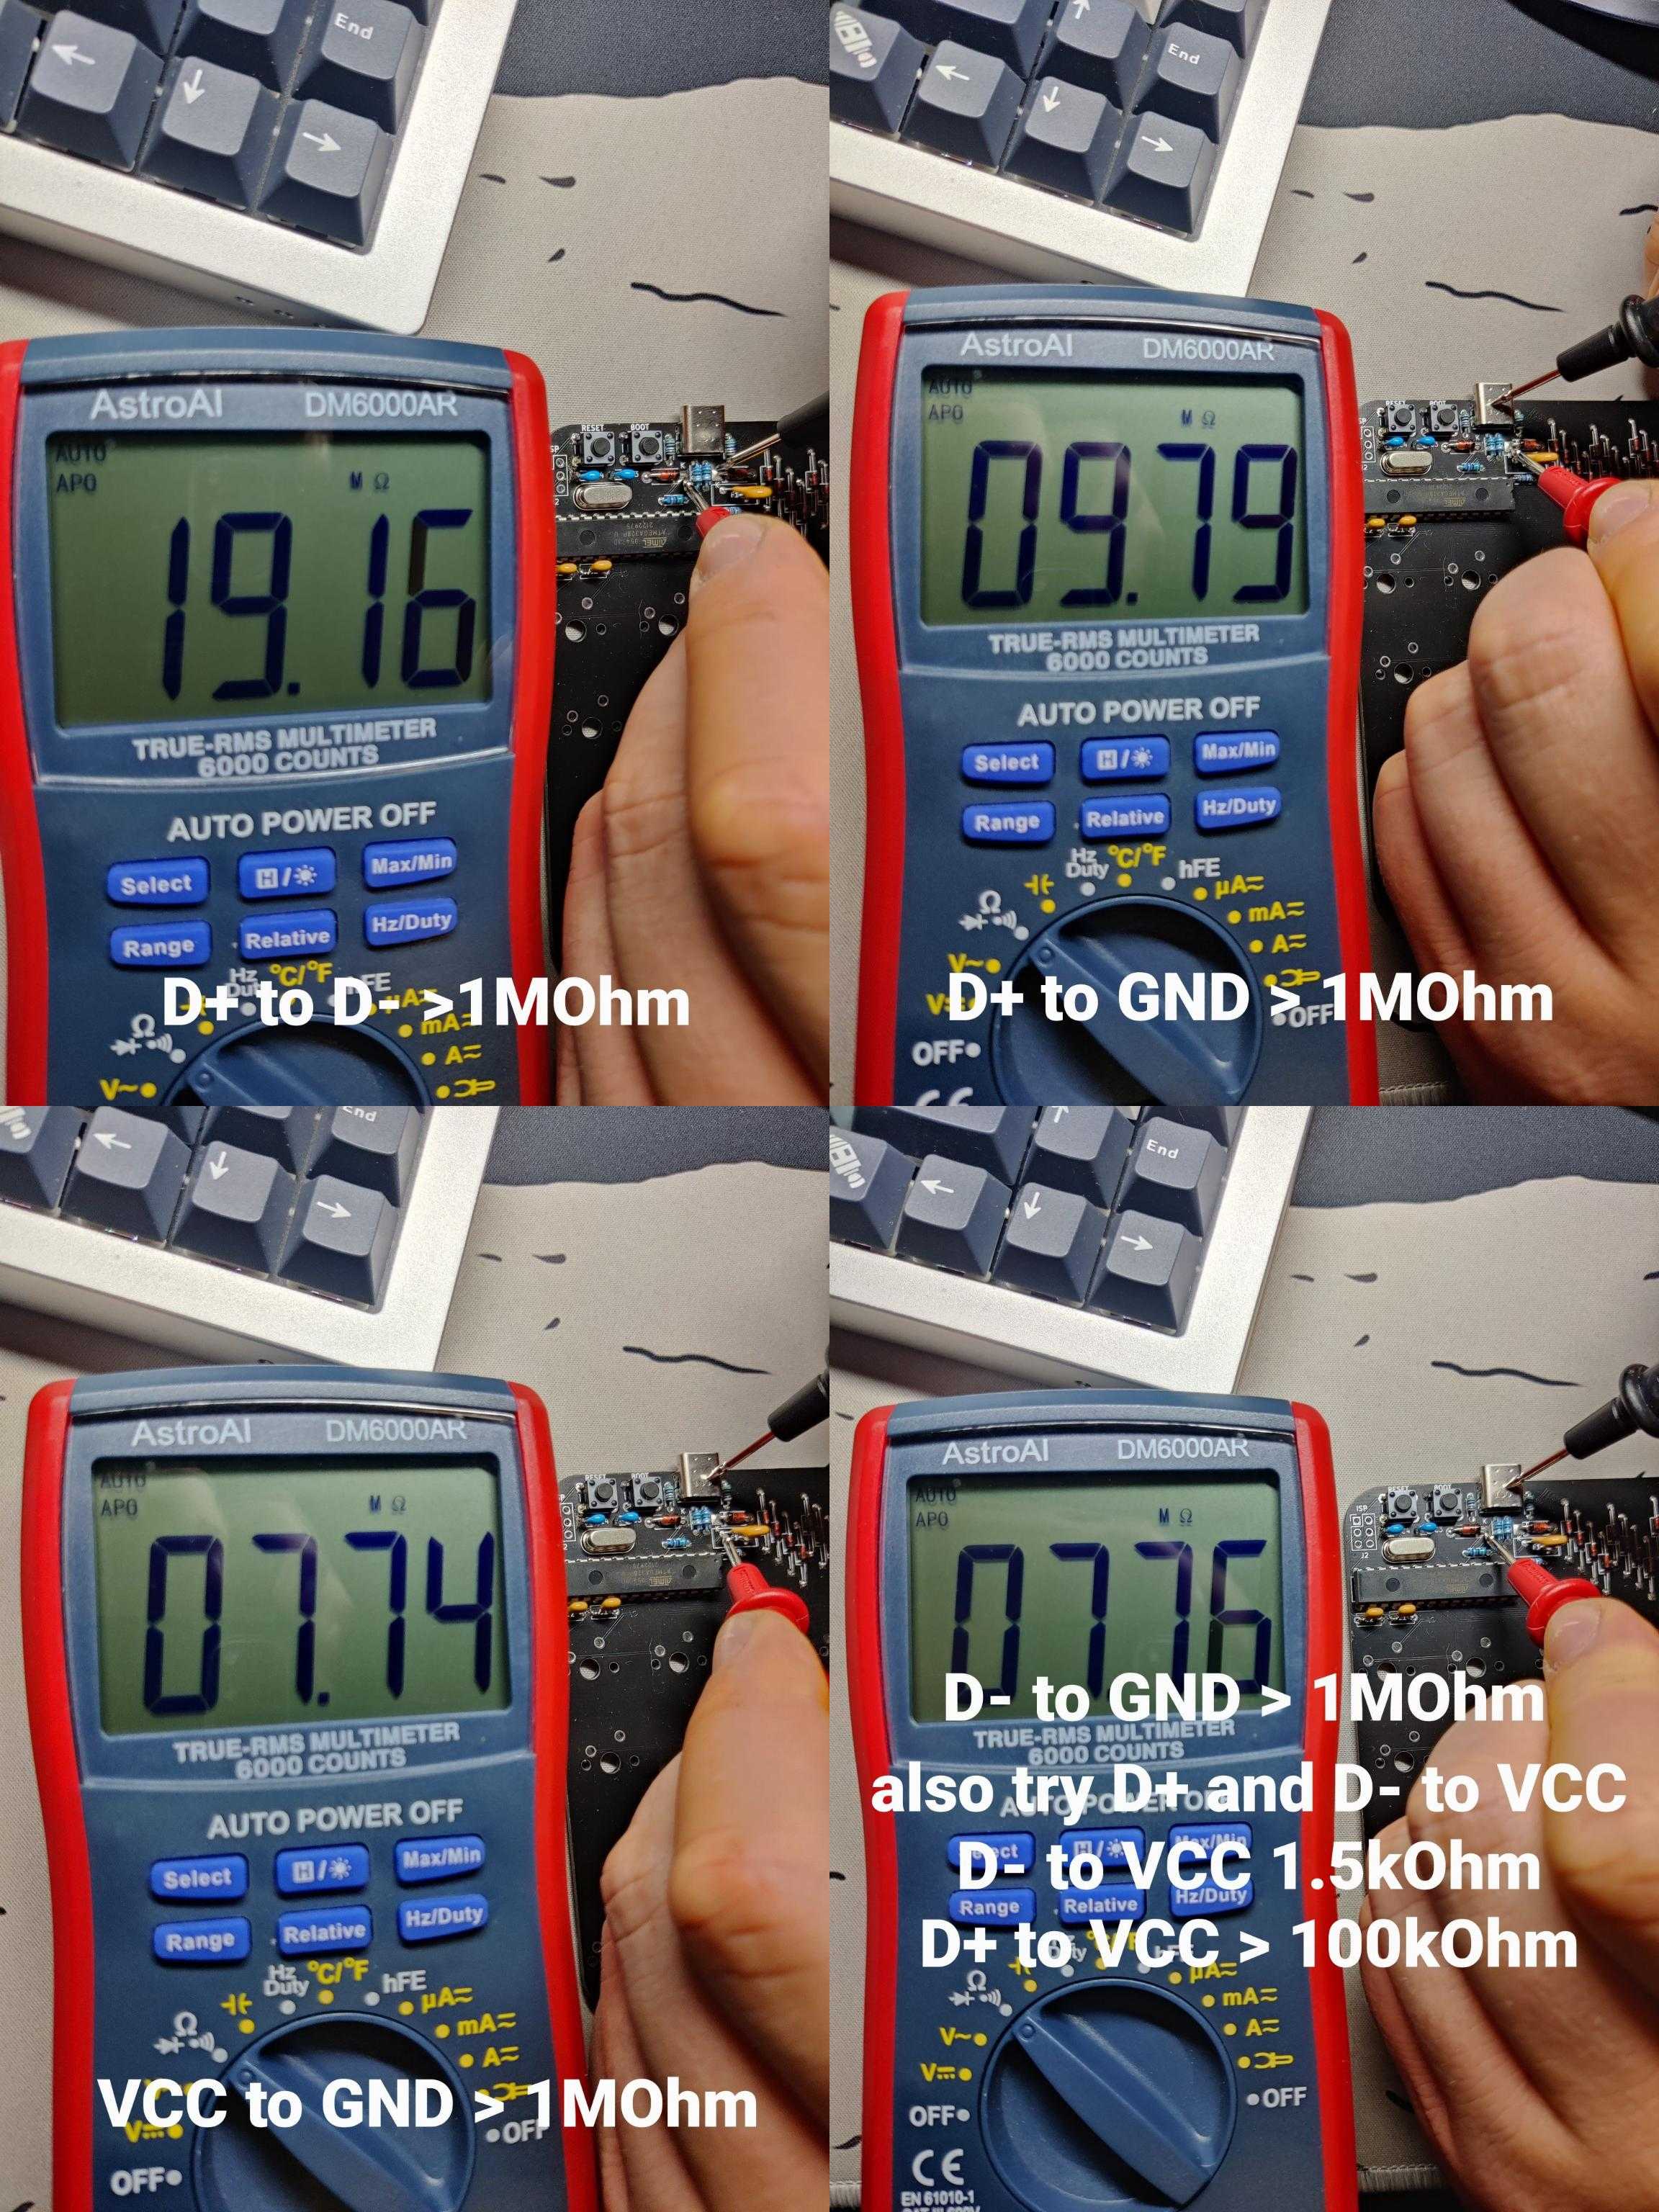
If your port doesn't look like that you should reflow it with some flux. If you want to make sure your port works you can measure it through with a multimeter. Here is all the stuff you have to check. If one of those values is not in that range something is wrong and you need to reflow the port.
USB_multi

If all those Values seem right then your board should get recognized by your computer. If it does please continue flashing the firmware here or jumping straight into VIA here.
VIA

VIA is a software a lot of custom keyboards use. You can program your keyboard on there. Please feel free to download it from here.

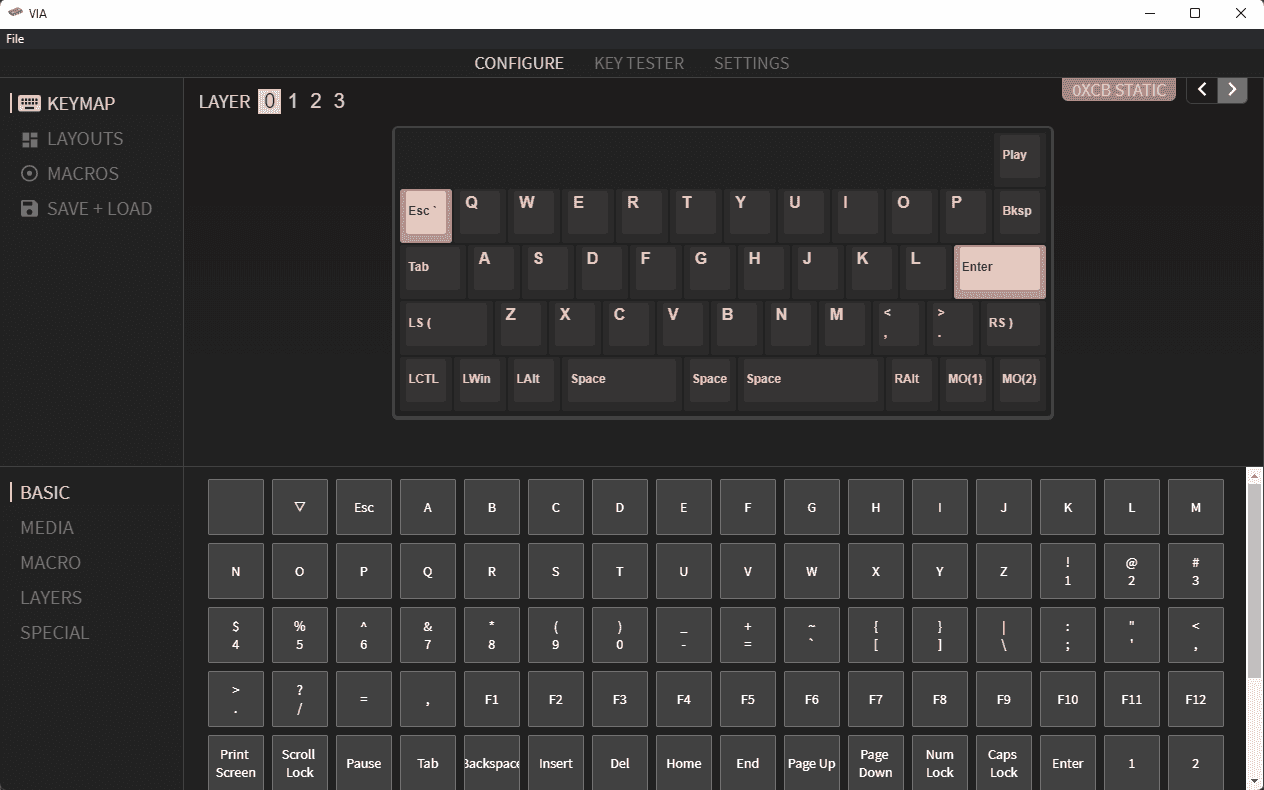
When you open VIA your keyboard should just pop up in there. If it doesn't maybe check the software and soldering side of things again.

via